Download page for all iPhone softwares, firmwares and other tools such as Pwnage, WinPwn, QuickPwn, and Ziphone, to hack your iPhone. Come here if you’re looking for an iPhone software or firmware. It will be updated from time to time as softwares come out.
iPad Firmware
* iOS 4.2.1
* iOS 3.2.2
* iOS 3.2.1
iPhone 4 Firmware
* IOS 4.2.1
* IOS 4.1
* iOS 4.0.2
* iOS 4.0.1
* iOS 4
iPhone 3G S Firmware
* IOS 4.2.1
* IOS 4.1
* iOS 4.0.2
* iOS 4.0.1
* iOS 4
* 3.1.3
* 3.1.2
* 3.1
* 3.0.1
* 3.0
iPhone 3G Firmware
* IOS 4.2.1
* IOS 4.1
* iOS 4.0.2
* iOS 4.0.1
* iOS 4
* 3.1.3
* 3.1.2
* 3.1
* 3.0.1
* 3.0
* 2.2.1
* 2.2
* 2.1
* 2.0.2 3G
* 2.0.1 3G
iPhone 2G Firmware
* 3.1.3
* 3.1.2
* 3.1
* 3.0.1
* 3.0
* 2.2.1
* 2.2
* 2.1
* 2.0.2
* 2.0.1
Ipod 4G
iPod Touch 3G
* IOS 4.2.1
* IOS 4.1
* iOS 4.0.2
* iOS 4
* 3.1.1
iPod Touch 2G
* IOS 4.2.1
* IOS 4.1
* iOS 4.0.2
* iOS 4
* 3.1.1
* 2.2.1
iPod Touch
LimeRa1n
* LimeRa1n
Spirit
* Spirit for Windows – Mirror
* Spirit for Mac – Mirror
BlackRa1n
PurpleRa1n
* V1
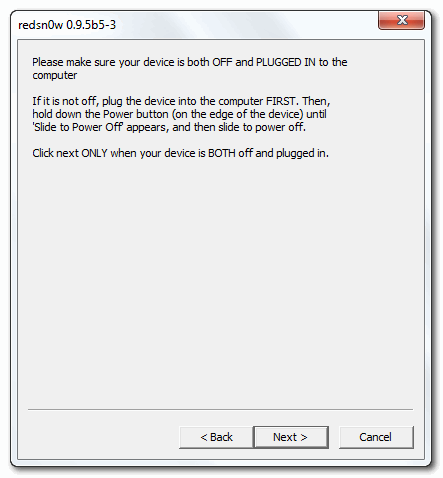
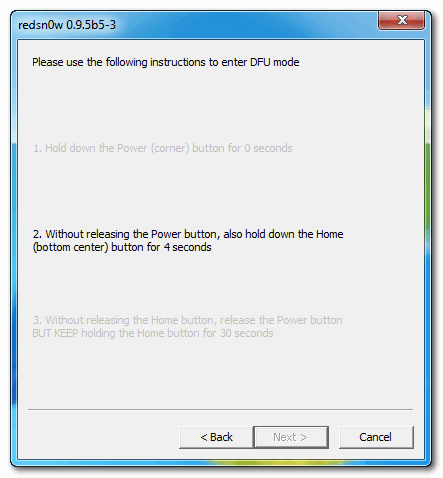
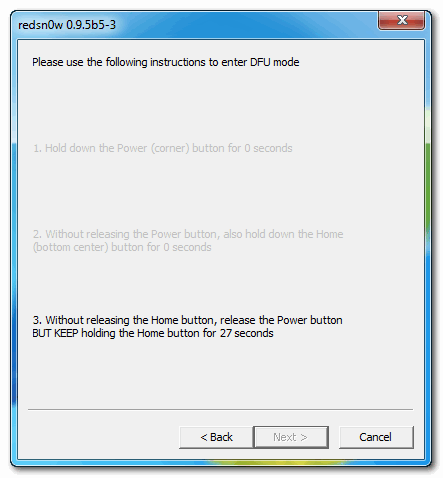
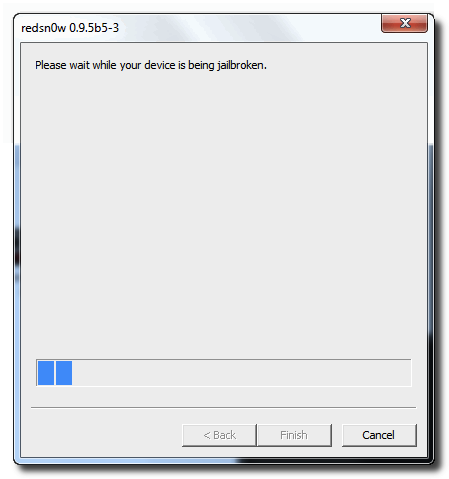
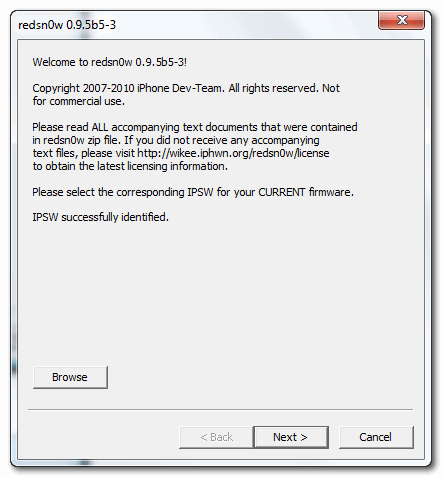
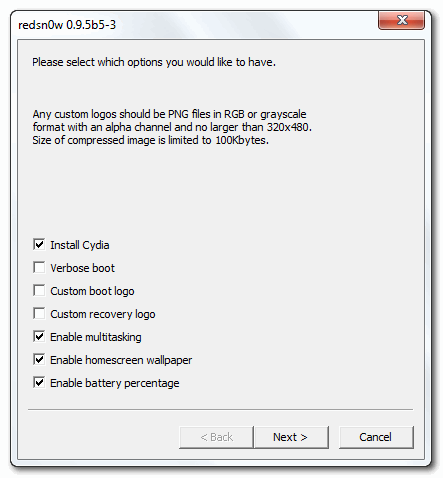
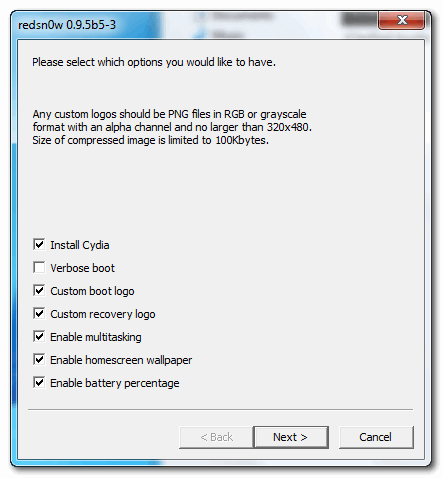
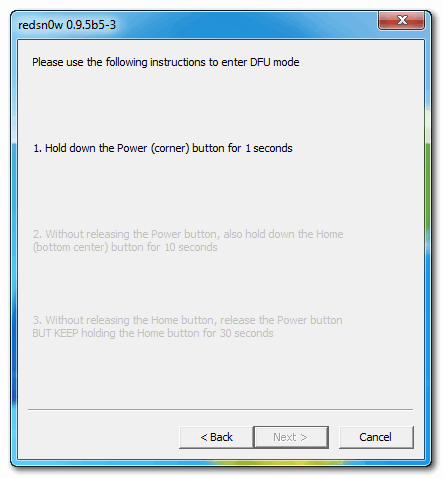
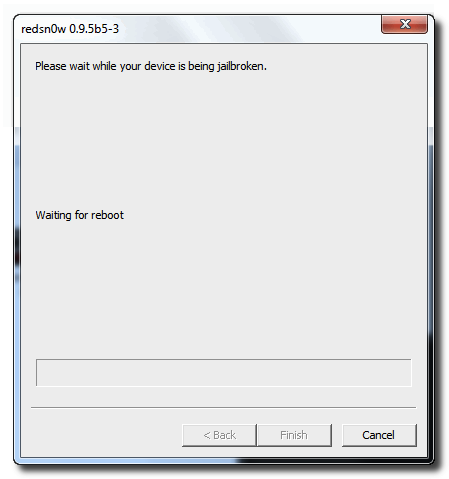
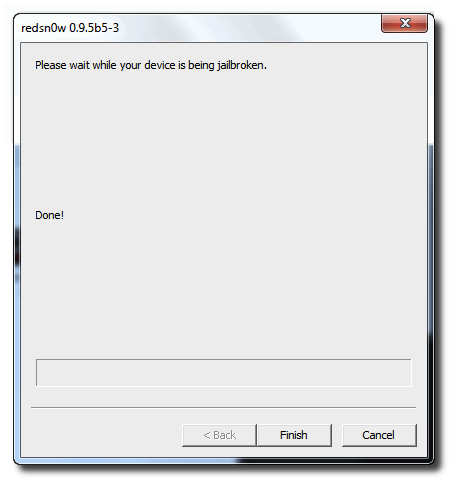
RedSn0w
* RedSn0w 0.9.6 RC7: Mac – Windows
* RedSn0w 0.9.7 beta 4: Mac
* RedSn0w 0.9.7 beta 3: Mac
* RedSn0w 0.9.7 beta 2: Mac
* RedSn0w 0.9.7 beta 1: Mac
* RedSn0w 0.9.6 beta 6: Mac – Windows
* RedSn0w 0.9.6 beta 5: Mac – Windows
* RedSn0w 0.9.6 beta 4: Mac – Windows
* RedSn0w 0.9.6 beta 3: Mac – Windows
* RedSn0w 0.9.6 beta 2: Mac – Windows
* RedSn0w 0.9.6 beta 1: Mac – Windows
* RedSn0w 0.9.5b5-5: Windows – Mac
* RedSn0w 0.9.3 for Mac
* RedSn0w 0.9.3 for Windows
* RedSn0w 0.8 3GS for Windows
* RedSn0w 0.8 3GS for Mac
* RedSn0w 3.0 for Windows
* RedSn0w 3.0 for Mac OS X
QuickPwn
* QuickPWN 2.2.1 for Windows
* QuickPWN 2.2.1 for Mac OS X
* QuickPwn 2.2 for Windows
* QuickPwn 2.2 for Mac OS X
* QuickPwn 2.1 for Windows
* QuickPwn 1.1 for Mac OS X
* QuickPwn for Mac OS X
* QuickPwn Release Candidate (RC3)
* QuickPwn ’150′ Beta Update
* GUI Version
* V1
PwnageTool
* PwnageTool 4.1.3 for Mac OSX
* PwnageTool 4.1.2 for Mac OSX
* PwnageTool 4.1 for Mac OSX
* PwnageTool 4.01 for Mac OS X
* PwnageTool 4.0 for Mac OS X
* PwnageTool 3.1.5 for Mac OS X
* PwnageTool 3.1.4 for Mac OS X
* PwnageTool 3.1.3 for Mac OS X
* PwnageTool 3.1 for Mac OS X
* PwnageTool 3.0 for Mac OS X
* PwnageTool 2.2.1 for Mac OS X
* PwnageTool 2.2 for Mac OS X
* PwnageTool 2.1 for Mac OS X
* PwnageTool 2.0.3 for Mac OS X
* 2.0.1
Sn0wBreeze
* V1 (+ .NET Framework 3.5 required to run Sn0wbreeze)
WinPwn
* WinPwn 2.5.0.2
* WinPwn 2.5
* 2.0.0.4
* 2.0.0.3
ZiPhone
BootLoaders
Unlock Without Wifi


") iPhone 3GS – Old Bootrom 359.3
iPhone 3GS – Old Bootrom 359.3") iPhone 3GS – New Bootrom 359.3.2
iPhone 3GS – New Bootrom 359.3.2") iPhone 3GS – Old Bootrom 359.3
iPhone 3GS – Old Bootrom 359.3")